Backrooms: co-op horror game in Unity
Build a co-op Backrooms horror game in Unity 6 with C#: first-person player, found-footage atmosphere, menus and saves, inventory and doors, a NavMesh monster, levers, optimization and Photon PUN 2 multiplayer.
Coming soon
The first lessons are already free. Leave your contact and we will tell you when the course goes on sale.
What's included
- 65 lessons
- 12 h 30 min of video
- Notes for every lesson
- Ask the author under each lesson
- Certificate of completion
- 2 free lessons
Course at a glance
- Modules
- 3
- Last updated
- October 18, 2026
About this course
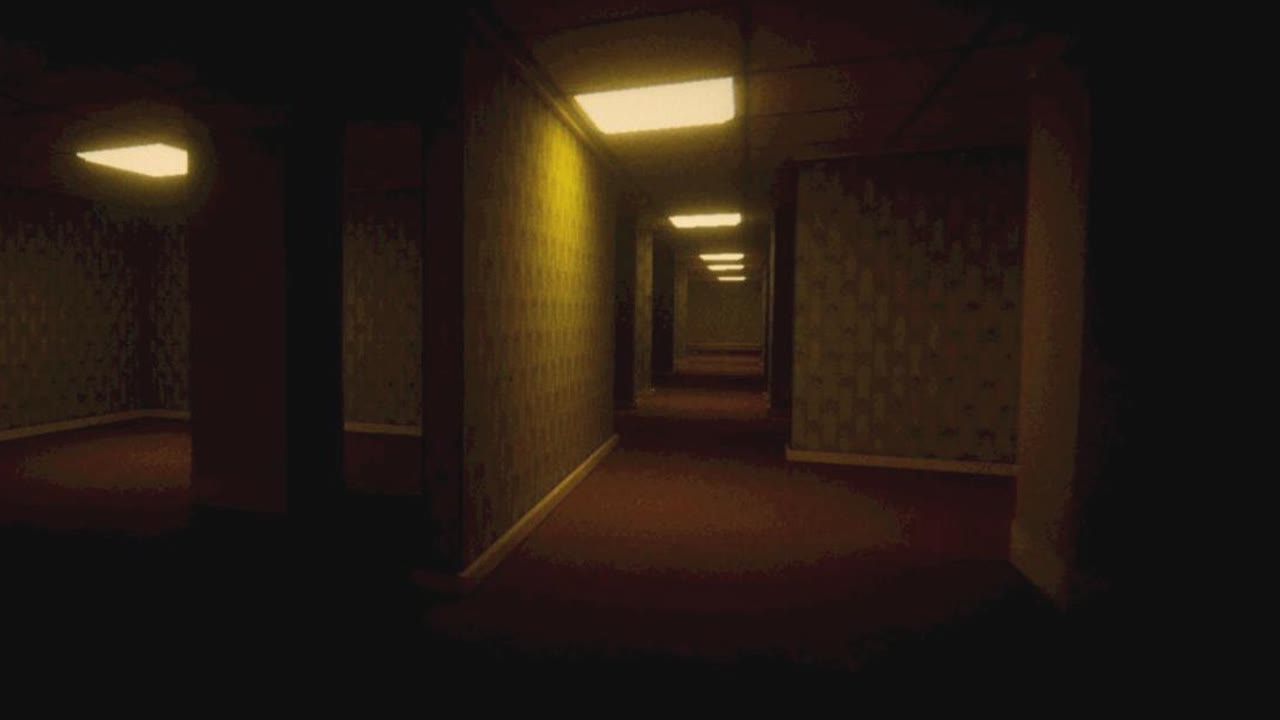
In this course you build a complete 3D horror game in the style of the Backrooms, step by step: endless yellow rooms, underground tunnels and pools, a monster that patrols the level and hunts players, keys, doors and levers, a main menu, saves and level progression. The finale is co-op: friends join the same room and play through the levels together. Module 1 is the foundation. A URP project with a clean folder structure, a first-person player on Character Controller with jumping, gravity and mouse look, and sprinting. Atmosphere: emissive materials, Global Volume, ambient sound and buzzing lights, and a found-footage camera bob. Player hands from an AI-generated model with animations. A main menu with scene loading and volume settings through the Audio Mixer, levels in ScriptableObjects, JSON saves and a level spawner. Raycast interaction through IInteractable, an inventory with its UI, and a key that opens an animated door. Module 2 is the enemy and the puzzles. NavMesh and Mixamo animations, patrolling, player detection, chase and attack, damage through IDamageable, player death and game states, an enemy state machine, and footstep, detection and attack sounds. New locations, linked doors and keys, levers, and moving to the next level. Then optimization: Frame Debugger and draw calls, static objects, baked lighting, batching and GPU Instancing, LOD, the Profiler, Occlusion Culling and Sprite Atlas. Module 3 is multiplayer with Photon PUN 2: connecting and rooms, spawning players, IsMine, syncing items, doors and levers through RPCs and the MasterClient, level transitions over the network, an enemy with synced states, animations, attacks and health, MasterClient switching, and separate player models for yourself and for others. A dedicated lecture explains how network synchronization works. You write all the C# code yourself and we explain every decision. The author's project files are attached to the lessons. You finish with a complete co-op game for your portfolio.
What you will learn
Build a first-person player: walking, sprinting, jumping, gravity and camera
Create horror atmosphere: emissive lighting, Global Volume, sound and a found-footage effect
Make menus, scene loading, Audio Mixer volume settings and JSON saves
Build levels from prefabs and ScriptableObjects and connect them with keys, doors and levers
Implement Raycast interaction with interfaces: items, inventory and doors
Write enemy AI: NavMesh, patrol, detection, chase, attack and a state machine
Optimize the game: Frame Debugger, batching, baked lighting, LOD and Occlusion Culling
Make co-op multiplayer with Photon PUN 2: rooms, RPCs, MasterClient and enemy sync
Play the game you'll build
Backrooms
Prerequisites
Windows or macOS computer
A PC or laptop that runs Unity 6 comfortably with a 3D URP project.
Unity Hub and Unity 6 (LTS)
Free. We create a Universal 3D project in the first lesson.
Code editor
Rider or Visual Studio — we write all the C# code together.
Photon account
Free sign-up at photonengine.com for multiplayer in module 3.
Level assets
Room, tunnel and pool models. The paid pool pack is shown for reference only — buy it for a commercial project.
Basic C# and Unity
Knowing the basics helps: the course builds on earlier projects, but key topics are reviewed.
How the course works
- 1
Watch the video and read the notes
Lessons are 10–20 minutes, each with notes on the key steps.
- 2
Repeat it in your own project
The author's code and files come with the lessons.
- 3
Ask questions under the lesson
The author and other students answer.
- 4
Get a game and a certificate
A finished project for your portfolio and a certificate of completion.
Course Lessons
Module 1. Foundation: player, atmosphere, menu and levels
1.1 Project setup, folder structure and post-processing
Free1.2 Character with Character Controller
Free1.3 Gravity, jumping and a first-person camera
1.4 Level 2: player prefab, colliders and materials
1.5 Level atmosphere: Emission, Volume Profile and ambience
1.6 Found-footage effect: camera bob
1.7 New large map: lighting, colliders, psychology
1.8 Sprinting and faster camera bob
1.9 Character hands: model, animations and Animator
1.10 Menu scene: Canvas, buttons, background and font
1.11 SceneLoader and menu panels: exit, settings, levels
1.12 Menu functionality: exit and volume via Audio Mixer
1.13 Levels with ScriptableObject and spawning cells
1.14 Save system: JSON in PlayerPrefs
1.15 Level spawner and config container
1.16 New location: tunnels from an AI-generated layout
1.17 Level settings: prefab, Volume profile, and music
1.18 Item interaction: Raycast and IInteractable
1.19 Inventory, PickupItem, and an item spawner
1.20 Picking up a key and a locked door
1.21 Door model and animation
1.22 Inventory UI: an event and a cell pool
1.23 Gameplay Canvas: inventory cells and crosshair
Module 2. Enemy, puzzles and optimization
After purchaseModule 3. Co-op multiplayer with Photon
After purchaseFAQ
I'm a complete beginner. Is this for me?
It helps to know C# and Unity basics: the course builds on earlier projects, but key topics are repeated. Try the two free lessons: if they make sense, you'll be fine.
What computer do I need?
A Windows or macOS PC or laptop that runs Unity 6 with a 3D URP project comfortably.
How does multiplayer work? Is it hard?
Co-op is built in module 3 with Photon: friends join one room and play the levels together. You only need a free account on photonengine.com; everything else is covered in the lessons.
How long does the course take?
65 lessons and about 12 hours of video. With practice, that's roughly 6–8 weeks at 4–5 hours a week. There are no deadlines, so go at your own pace.
What if I get stuck?
Every lesson has a questions section where the author and other students answer. The author's code and files are attached to the lessons, so you can compare them with your project.
Do I need to buy anything?
Unity, the code editor and Photon are free. The paid pool asset pack is provided for learning only: buy it if you release the game commercially.
What if the course is not for me?
You have a 30-day money-back guarantee. Email support@lvlarena.games within 30 days of purchase and we will refund you.
Will I get a certificate?
Yes. When you finish all lessons, you get a personal LVLARENA certificate.
Course author